
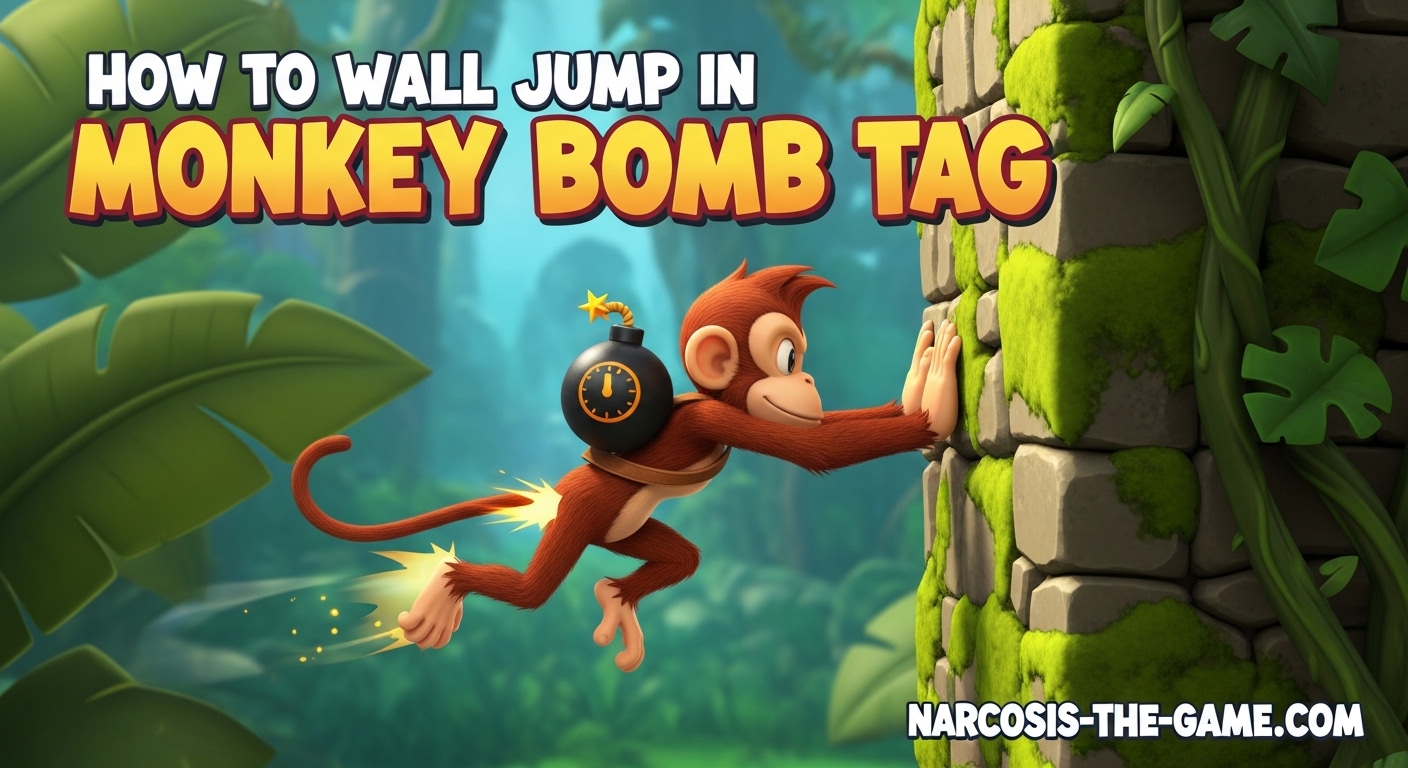
Wall jumping is one of the most essential movement techniques in Monkey Bomb Tag, and mastering it can mean the difference between survival and elimination. This comprehensive guide walks you through everything you need to know about wall jumping, from basic mechanics to advanced techniques that will help you reach high ground, escape the bomb holder, and win more rounds. Whether you’re playing on PC, PS4, or PS5, you’ll find controller-specific tips and step-by-step instructions to improve your gameplay.
Table of Contents
What Is Monkey Bomb Tag?
Monkey Bomb Tag is a popular Roblox survival game where players must avoid being the one holding the bomb when its 25-second timer expires. The game combines elements of tag and survival mechanics, creating intense moments where players constantly pass the bomb through proximity tagging while navigating vertical environments using wall jumping, vines, and ziplines.
The core gameplay loop is simple yet thrilling: the bomb spawns on a random player at the start of each round. That player has 25 seconds to get close to someone else so the bomb transfers through proximity contact. If the timer reaches zero while you’re holding the bomb, you’re eliminated. This creates constant tension and encourages aggressive play to escape the bomb holder.
- Bomb Timer: 25 seconds before explosion
- Proximity Tag: Bomb transfers when near another player
- Wall Jumping: Primary vertical movement technique
- Elimination: Bomb holder is out when timer expires
Why Wall Jumping Matters in Monkey Bomb Tag
Wall jumping isn’t just a neat trick in Monkey Bomb Tag—it’s a fundamental skill that directly impacts your survival rate. Understanding why wall jumping matters will help you appreciate its importance and motivate you to practice until it becomes second nature.
First and foremost, wall jumping allows you to reach high ground positions that most players cannot access quickly. When you’re elevated on a platform or ledge, fewer players can chase you, giving you more options for bomb passing and evasion. The vertical environment of Monkey Bomb Tag maps is designed around this parkour mechanic, rewarding players who can navigate it efficiently.
Secondly, wall jumping provides critical escape routes when you’re the bomb holder. With 25 seconds on the clock, every second counts. Being able to quickly scale walls and put distance between yourself and other players can mean the difference between passing the bomb and being eliminated.
Finally, mastering wall jumping opens up access to restricted spots and hidden areas that provide tactical advantages. Some of these locations offer perfect views of the map, making it easier to spot approaching players and plan your next move.
Monkey Bomb Tag Controls Overview
Before learning wall jumping, you need to understand the basic movement controls in Monkey Bomb Tag. The controls differ slightly between PC and console platforms, so find your preferred method below and spend time getting comfortable with the movement system.
| Action | PC Controls | PS4/PS5 Controls |
|---|---|---|
| Move | W, A, S, D | Left Stick |
| Jump | Space | X (PS4) / X (PS5) |
| Sprint | Shift | R2 / RT |
| Look Around | Mouse | Right Stick |
How to Wall Jump in Monkey Bomb Tag: Step-by-Step Guide
Learning how to wall jump in Monkey Bomb Tag requires understanding the physical motion your character performs. Unlike some games where you simply press a button to cling to walls, Monkey Bomb Tag uses a more realistic arm-based climbing system that takes practice to master.
Step 1: Face the Wall
Position yourself directly facing a vertical wall surface. Your body should be parallel to the wall, approximately arm’s length away. Getting too close will prevent you from executing the proper arm motion, while being too far will make it difficult to establish wall contact.
Step 2: Place Your Forearm Against the Wall
Extend your arm and place your forearm parallel to the wall surface. Your hand should be open with palm facing the wall, as if you’re pressing against it. This mimics real climbing mechanics where your forearm and hand grip the surface. Community guides on Reddit consistently emphasize that forearm positioning is the most critical aspect of wall jumping.
Step 3: Initiate Your First Jump
Press the jump button while simultaneously pushing off the wall with your forearm. This creates the propelling force needed for vertical movement. On PC, press Space while pushing forward. On console, press your jump button (X) while your thumb stick guides your character toward the wall.
Step 4: Chain Jumps Continuously
As you rise after your first jump, quickly reposition your forearm against the wall and press jump again before you start falling. The key to successful wall climbing in Monkey Bomb Tag is rapid repetition. Hesitating even briefly will cause you to lose momentum and fall back down.
Step 5: Maintain Upward Momentum
Once comfortable with basic wall jumping, focus on preserving momentum between jumps. Keep your movements smooth and avoid hesitating between wall contacts. Advanced players can chain jumps in rapid succession to scale walls faster than the game physics might suggest is possible.
Common Wall Jump Mistakes to Avoid
Understanding what not to do is just as important as learning proper technique. Based on community forum discussions and player experiences, here are the most common mistakes beginners make when learning wall jumping in Monkey Bomb Tag.
- Bouncing Off Instead of Sticking: Many new players push away from the wall instead of establishing grip contact. Remember that your forearm needs to be parallel to the wall surface, not angled away from it.
- Incorrect Forearm Positioning: Placing your hand first rather than your forearm leads to poor grip and reduced pushing power. The forearm provides the main contact point for Monkey Bomb Tag’s climbing system.
- Too Much Distance from Wall: Standing too far away makes it impossible to establish proper wall contact. Stay close enough that your extended arm can easily reach the surface.
- Hesitating Between Jumps: Pausing even for a moment breaks your momentum chain and causes you to fall. The wall jump rhythm needs to be rapid and continuous.
- Not Using Corner Jumps: Beginners often try to climb flat walls when corner jumps provide better grip and easier climbing angles.
If you’re experiencing issues where your character seems to bounce off walls repeatedly, focus on adjusting your forearm angle and reducing the distance between your character and the wall surface. These two factors are responsible for the majority of wall jump failures in Monkey Bomb Tag.
Movement Mechanics and Momentum Preservation
Beyond basic wall jumping, understanding momentum and how to preserve it can elevate your gameplay significantly. Monkey Bomb Tag’s physics system rewards players who can chain movements smoothly and maintain speed throughout their climbing sequences.
Understanding Momentum in Wall Jumping
Each wall jump builds upon the previous one, creating cumulative momentum that makes climbing faster and more efficient. When you execute a wall jump correctly, your character carries forward momentum into the next wall contact, effectively reducing the effort needed for subsequent jumps. This is why rapid chaining is so effective for vertical climbing.
Chaining Wall Jumps for Speed
Advanced players have discovered that the optimal parkour mechanics in Monkey Bomb Tag involve minimal pause between wall contacts. By keeping your thumb or finger on the jump button and maintaining rapid input, you can achieve near-seamless climbing that outpaces players who hesitate or move too slowly between jumps.
Directional Control During Climbs
While ascending, you can slightly adjust your trajectory by modifying how you push off from each wall contact. Pushing at a slight angle allows you to navigate around obstacles and reach corners more effectively. This directional control becomes especially important when climbing complex surfaces with multiple angles and protruding features.
Recovery from Momentum Loss
Even experienced players occasionally lose momentum and start falling. When this happens, don’t panic. If you’re still near a wall, immediately attempt another wall jump. Sometimes a single well-timed recovery jump can restore your climb and prevent a costly fall. Practice falling and recovering during your training sessions to build this reactive skill.
Vines and Ziplines: Alternative Movement Options
While wall jumping is the primary climbing method in Monkey Bomb Tag, the game also features vines and ziplines that offer alternative movement options. Understanding when to use each can give you tactical advantages in different situations.
Vine Climbing
Vines function similarly to walls but may offer slightly different grip mechanics. When you encounter a vine, approach it as you would a wall and establish the same forearm contact. Some players find vines easier to grip because their texture provides better traction. Vines often lead to specific elevated areas that might be harder to reach via wall jumping alone.
Zipline Mechanics
Ziplines in Monkey Bomb Tag allow for rapid horizontal movement across the map. Unlike wall jumping which focuses on vertical ascent, ziplines let you swing between points, covering large distances quickly. When on a zipline, you have limited control but can dismount at any time to transition into wall climbing if needed.
- Best for Vines: Vertical ascent in areas with multiple vine options, grip-heavy sections where walls are slippery
- Best for Ziplines: Crossing open spaces, creating distance from the bomb holder, reaching distant platforms
- Best for Wall Jumping: General vertical climbing, precise positioning, areas without vines or ziplines
Advanced Wall Jump Techniques
Once you’ve mastered the basics, these advanced techniques will help you take your wall jumping to the next level. These methods are particularly useful for competitive players and those looking to improve their speed running capabilities.
Corner Jumping
Corner jumping involves using the edges of walls to gain better leverage and grip. By positioning yourself at a corner where two walls meet, you can alternate between walls more effectively and achieve higher climbing speeds. Many experienced players consider corner jumps essential for advanced climbing because they provide natural hand placement and improved pushing angles.
Map-Specific Wall Jump Spots
Different maps in Monkey Bomb Tag feature unique wall structures that reward exploration. Spend time learning the layout of each map and identifying which walls offer the best climbing surfaces. Some walls have textures that provide better grip, while others have angles that facilitate faster climbing. Map knowledge combined with wall jump mastery gives you a significant competitive advantage.
Momentum Preservation Drills
Practice maintaining momentum through extended climbing sequences. Choose a tall wall and challenge yourself to climb it without any momentum loss. Time your attempts and work to improve your speed with each try. These drilling exercises build muscle memory that transfers directly to live gameplay situations where split-second decisions matter.
Wall Jumping Strategies for Winning
Knowing how to wall jump is one thing; understanding when and why to use this skill is what truly separate winning players from the rest. Here are proven winning strategies that incorporate wall jumping effectively.
Reaching High Ground Early
At the start of each round, immediately assess the map and identify the nearest route to high ground. Being elevated when the bomb spawns gives you valuable seconds to observe other players’ positions and plan your approach. High positions also make it harder for the initial bomb holder to tag you through proximity.
Escape Routes When Holding the Bomb
When you’re the bomb holder, wall jumping becomes your most valuable survival tool. As soon as you receive the bomb, look for the fastest route to elevated terrain. Use wall climbing to create vertical separation between yourself and approaching players. The higher you climb, the more time you’ll have to position yourself for a safe bomb pass.
Breaking Chase Momentum
If you’re being chased by the bomb holder, use wall jumping to break their chase momentum. By climbing to areas that are difficult to follow, you can force the bomb holder to pursue you through challenging paths, potentially wasting precious seconds off their timer. Corner jumps are particularly effective for this strategy because they allow quick direction changes that can disorient pursuers.
Corner Hiding Techniques
Combining wall climbing with corner hiding creates powerful defensive positions. After climbing to a strategic ledge, position yourself in a corner where you can see approaching players but they cannot easily reach you. This gives you maximum awareness while minimizing your exposure to bomb transfer risk.
- Scout high ground positions during the pre-round countdown
- Plan escape routes before receiving the bomb
- Use wall jumps to break chaser momentum and buy time
- Combine climbing with positioning in defensible corners
- Practice rapid bomb passes from elevated positions
Frequently Asked Questions
How do you wall jump in monkey bomb tag?
Face the wall, place your forearm parallel to the surface, and press jump repeatedly while pushing off. Keep your body close to the wall to maintain contact. The key is rapid repetition and proper forearm positioning. Many players find that using corner jumps first helps them learn the proper forearm angle before attempting flat wall climbs.
What are the controls for monkey bomb tag?
PC uses WASD to move and Space to jump. Console players use the left stick for movement and A/X to jump depending on your platform. Sprint is Shift on PC or R2/RT on consoles. The exact button mappings may vary slightly depending on your platform version, so check in-game settings for confirmation.
How do you pass the bomb in monkey bomb tag?
Get close to another player to transfer the bomb through proximity tagging. When you’re near another survivor, the bomb automatically passes to them, giving you precious seconds of safety. There is no manual pass button—the transfer happens automatically when you’re within the proximity range of another player.
What happens when the bomb timer ends?
When the 25-second timer expires, the bomb explodes and the player holding it is eliminated from the round. This makes escaping the bomb holder crucial for survival. The explosion eliminates only the current bomb holder; other players remain in the game and the round continues with a new bomb spawn.
Why can’t I climb walls in monkey bomb tag?
If you’re bouncing off walls instead of sticking, check your forearm positioning. Your forearm should be parallel to the wall, not angled away. Also ensure you’re not standing too far from the wall. Practice in the tutorial pit area first to get the feel of proper wall contact before attempting climbs in live matches.
Conclusion
Wall jumping is an essential skill that every Monkey Bomb Tag player must master to succeed. From reaching high ground and executing escape routes to breaking chaser momentum and accessing restricted spots, this parkour mechanic forms the foundation of effective gameplay in this Roblox survival title.
Remember that mastery comes through practice. Spend time in the tutorial area learning the feel of forearm positioning and wall contact. Once the basics click, focus on momentum preservation and chaining jumps smoothly. Controller players on PS4 and PS5 should pay special attention to the timing between jump inputs and arm positioning.
Combine your wall jumping skills with knowledge of vines, ziplines, and strategic positioning to become a formidable Monkey Bomb Tag player. Whether you’re trying to survive as the bomb holder or dominate the leaderboards, solid wall jumping fundamentals will consistently deliver results.
Now that you understand how to wall jump in Monkey Bomb Tag, get out there and practice. The only way to truly master these techniques is through consistent gameplay and learning from each match. Good luck, and may your climbs always lead to victory!